Книга: Advanced PIC Microcontroller Projects in C
Testing the Project
Testing the Project
Testing the project is relatively easy. The steps are:
• Construct the hardware
• Load the program (Figure 8.22) into the PIC18F4550 microcontroller
• Copy or run the PC-based Visual Basic program
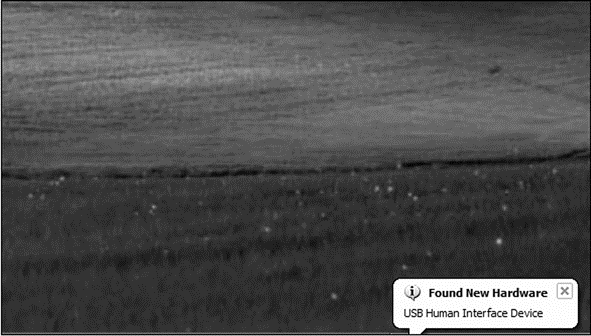
When the microcontroller is connected to one of the USB ports of the PC, a message should be visible at the bottom right-hand corner of the screen similar to the one in Figure 8.25. This message shows that the new USB HID device has been plugged in and is recognized by the PC.

Figure 8.25: USB connection message
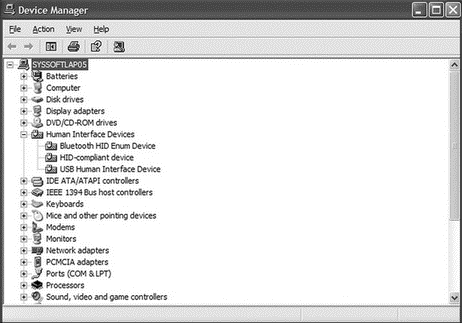
In addition, the device manager display should show an HID-compliant device and a USB human interface device as in Figure 8.26. The properties of these drivers can be displayed to make sure the VIP is 0x1234 and the PID is 1.

Figure 8.26: Device manager display showing the USB devices
Enter data into the Visual Basic form and click the CLICK TO SEND button. The corresponding microcontroller LEDs should turn on. For example, entering 3 should turn on LEDs 0 and 1.
- Project PDL
- PROJECT 6.4 — Two-Dice Project Using Fewer I
- Project Hardware
- Testing the Program
- Using the HID Terminal of mikroC
- PROJECT 9.1 — Temperature Sensor CAN Bus Project
- Creating a New Project
- The Project
- Creating the Application
- 4.5 Building the Project
- 5.4.2 The Cross-Development Environment
- Testing the Project


